
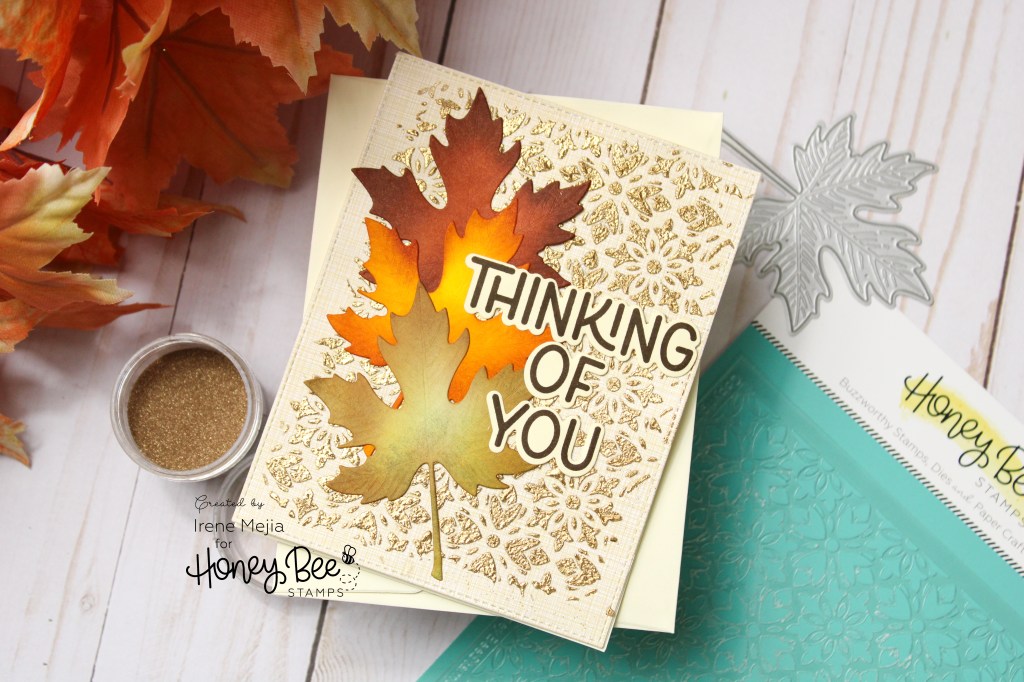

I love a textured card, and especially one with texture that shimmers! I will share the steps to create your own textured card! I began by selecting a patterned paper from Honey Bee Stamps Marvelous Moments 6×8.5 Paper Pad. I chose this pattern because it looks like linen, and its a nice neutral color. I placed my card panel onto my Brutus Monroe Stick and Stamp Mat, and used highlighter Tape told the stencil in place.
Next, I scraped translucent Distress Grit-Paste over the stencil and then poured gold embossing powder over the entire thing. Do not remove the stencil before adding the embossing powder. I do this to avoid having to use anti-static powder. Once the paste is fully coated with powder, carefully remove the stencil, and use a heat gun to set the paste and powder. The embossing paste will bubble as it heats up.
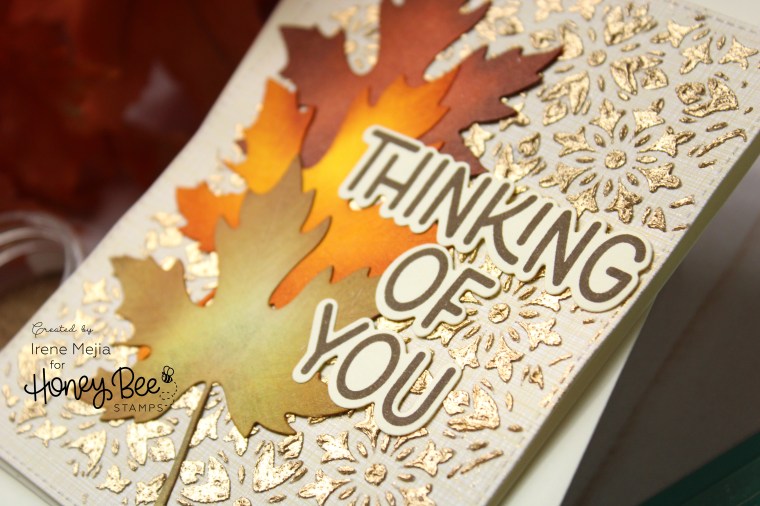
Next, I chose the sentiment “Thinking of You” from the Honey Bee Stamps Fall Foliage Frame Stamp set and stamped it in “Icing on the Cake” Catherine Pooler ink, and I used the coordinating Fall Foliage Frame Die Cuts to cut the sentiment.
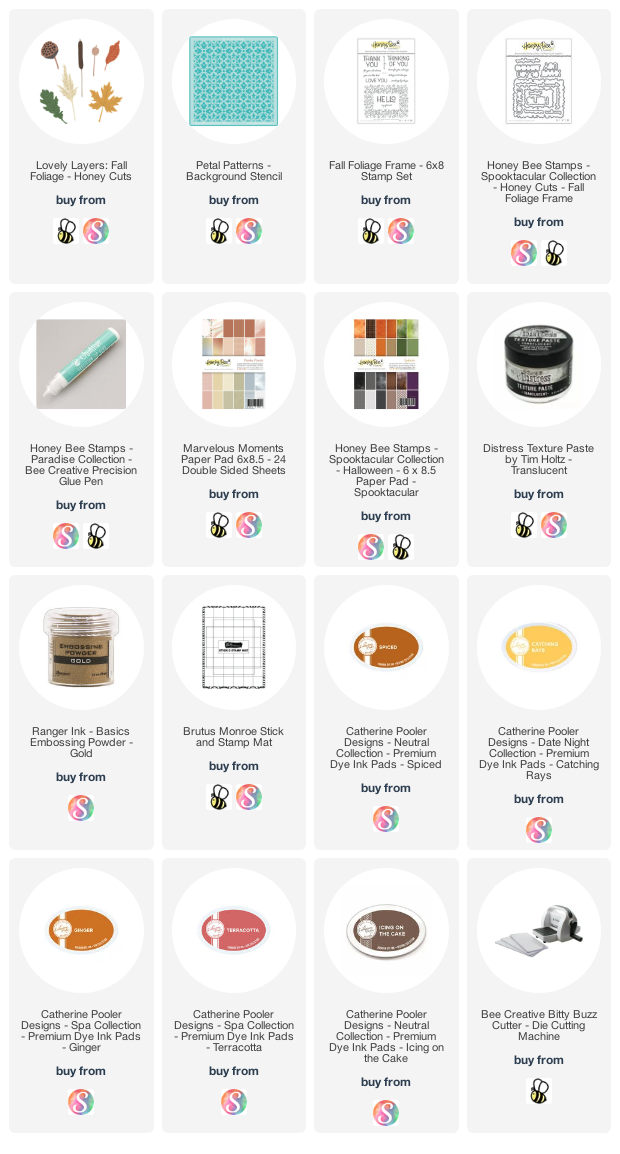
The links to the products I used are below. These are affiliate links, so it helps me a lot if you use them to shop at no extra cost!


3 responses to “Lovely Layers Fall Leaves Textured Card”
Hello!
This card is beautiful! I have been making cards for about 8 years and have never seen the trick you used to move the the leaves over to the card!!! What type of transfer paper did you use? Thank you!
LikeLiked by 1 person
Hi there! Thank you so very much! I used a transfer tape I have on hand called frisco tape, but glad press n seal will do the same thing.
LikeLike
Ya know, I bought Press and
Seal for this reason, tried it once and was not happy with the result. However, you used it in a little different way, and I think I can make that work! Thank you so much! Keep making beautiful cards!!!
LikeLiked by 1 person