
In April 2021, I stumbled upon a three-year-old card-making video by the fabulous Jennifer Mcguire. I watched and listened, and she explained the steps to create your beautiful card. At this point, I had never seen a manual die-cutting machine, an embossing folder, or a die-cut. My curious nature and love of learning new things were sparked. I tried to imitate what she did with my circuit machine and minimal card-making supplies.
I returned to her YouTube channel, and I watched a video of her using clear stamps. I had seen clear stamps before, but I never understood what they were for or why anyone used them. I watched as she used layering stamps that created beautiful flowers. I had never seen this type of product before in my life. The stamp set was from Altenew. I quickly went to their website and scrolled through pages of beautiful products, and saw examples of the possibilities! I placed an order for my first Altenew products. My order arrived, and I used my brand new vintage roses stamp set. That’s how it all began.
Later that year, in June, I received an email from altenew about their certified educator program. I had only been making cards for a couple of months, but I decided to jump in, apply, and see how it went. The next day I received a response asking to see photos of cards I had made. Shortly after, I was accepted into the program, and this journey began.
I have learned so much through the AECP courses. I’ve found new ways to express my creativity, learned new skills, and grown more confident. I’ve also found very welcoming and warm people in the card-making community. Teaching a class is the perfect way to finish the AECP program!

My final challenge assignment was to teach a class virtually or in person. This class had to teach techniques learned in the AECP.
Class Proposal
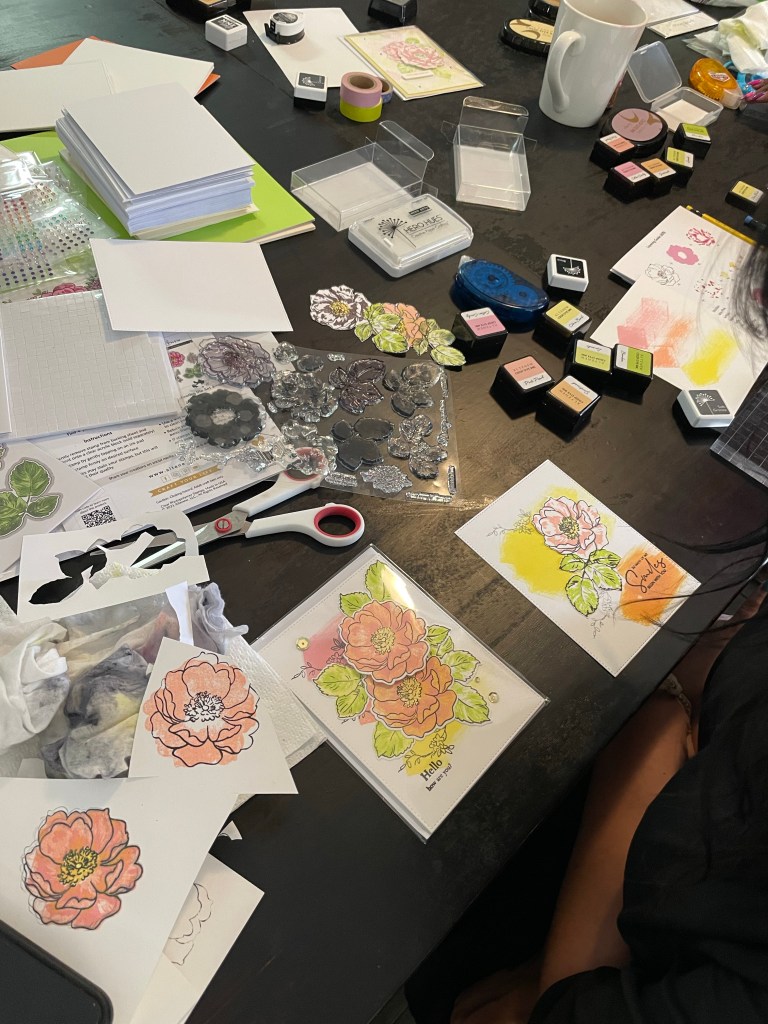
The first technique I wanted to teach was using Layering Stamps. I wanted to incorporate this technique since it first drew me to Altenew. Ink techniques is another technique I think is essential, it maximizes the use of your stamp sets, and finally, masking techniques, all three together make beautiful things happen on paper!
I chose to have an in-person card workshop as teaching is not only new for me, stamping was entirely new for my students as well, and I wanted them and me to have a hands-on approach and be available to answer questions and assist them.
Class Preparation
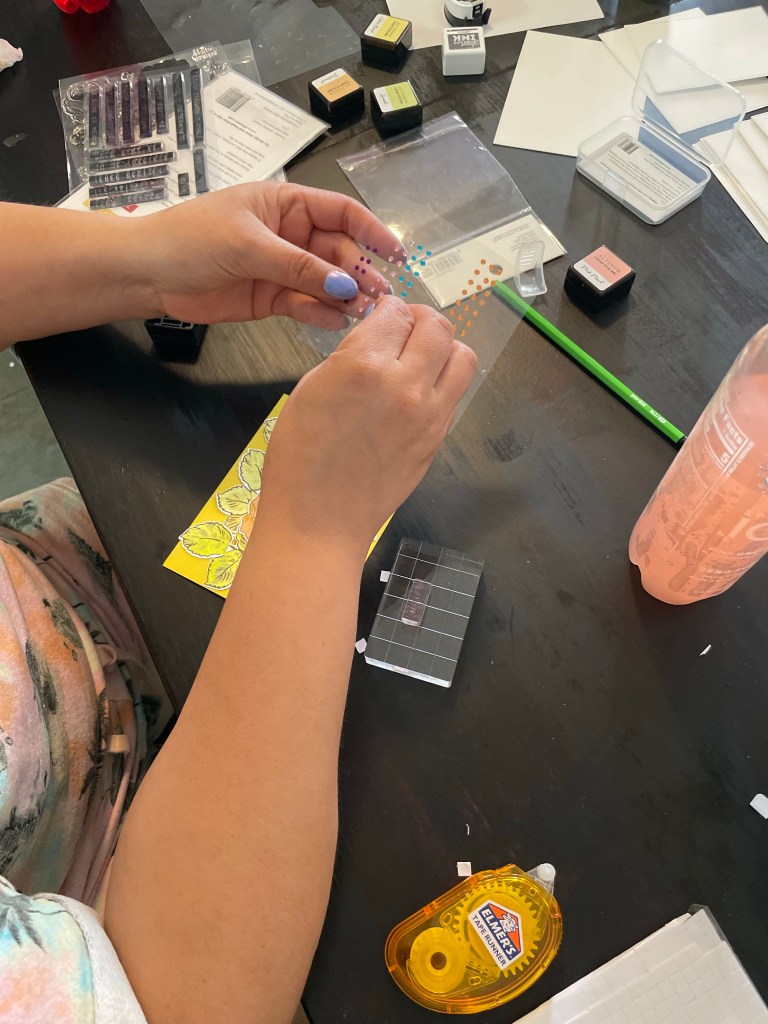
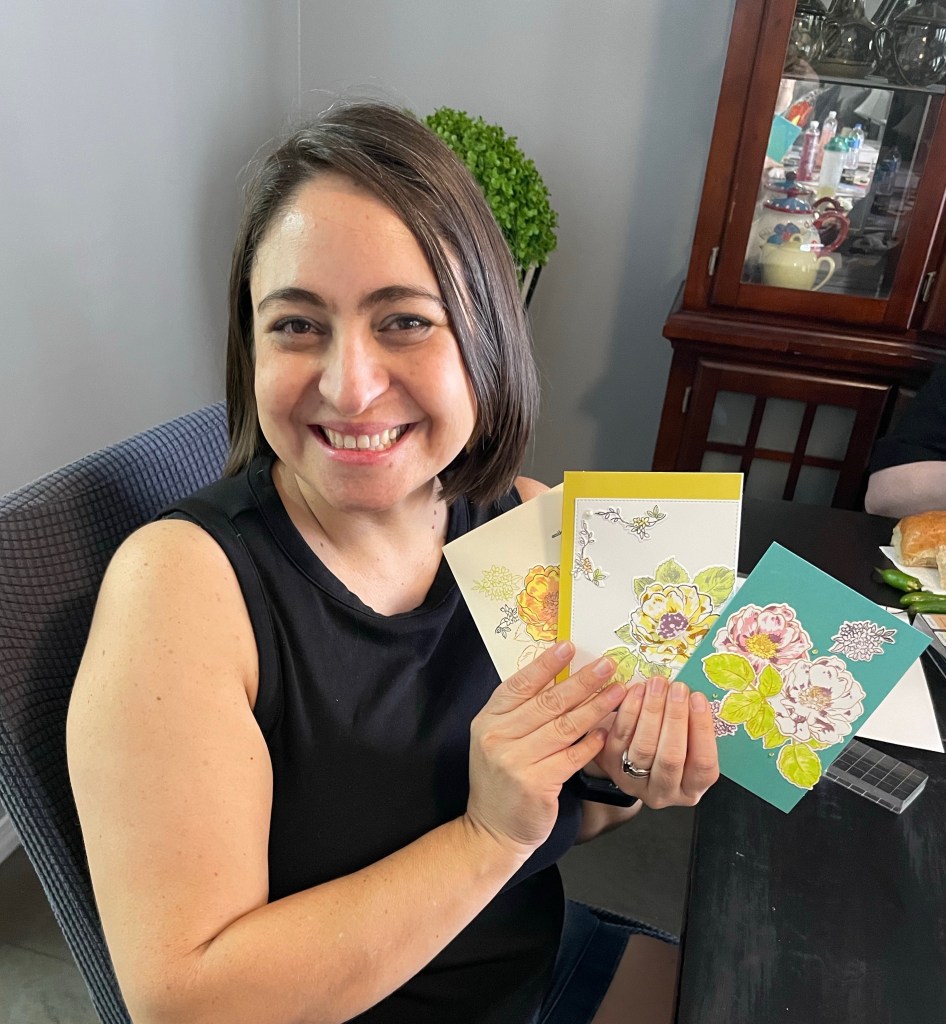
I purchased six sets of Altenew’s Build-A-Flower: Wild Rose Layering Stamp
& Die Set & Ink Bundle. I created three card samples for my students to draw inspiration from, precut multiple card panels in different sizes and colors, plus blank card bases.
The card workshop was being hosted by one of my closest friends on a Saturday morning. Her home is more central to everyone, the dining table is large, the lighting is excellent, plus she’s the hostess with the mostest!
Time for class!
My morning started rather bumpy. The roofing company that’s charged with repairing our roof after it was damaged unexpectedly showed up at my door to do measurements they were scheduled to do two weeks earlier. This delayed my departure. My amazing friend was called into work early in the morning, I couldn’t get the wifi connected, and my zoom password did not work.
Thankfully, the wifi connected, and I changed my password. Virginia and Erum waited for me, and I am truly grateful.
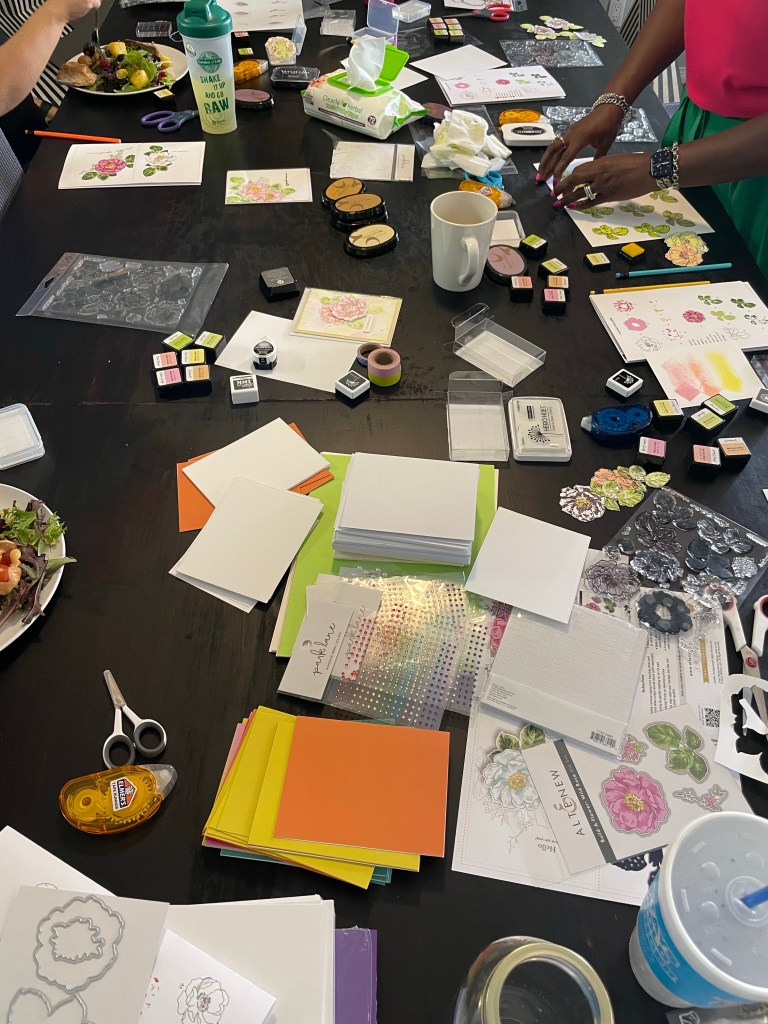
I had five students in attendance. Each one is talented in their way, a home decorator, a talented singer/ songwriter, a business owner, an International HR rep, and a speech language pathologist (therapist). All of them were new to stamping and card making.
I began by teaching the basics of layering stamps, how to line them up, and the order the inks should be used. It didn’t take long before they began trying things on their own and using colors in the best way they liked. A little friendly competition started on who stamped the best flowers. As nervous as I was, I enjoyed how much fun they were all having, and I was proud of each one of my students for using their creativity to express their unique styles on paper. Before we knew it, the two-hour timeline flew by. We kept the stamping party going until each person completed as many cards as they wanted.

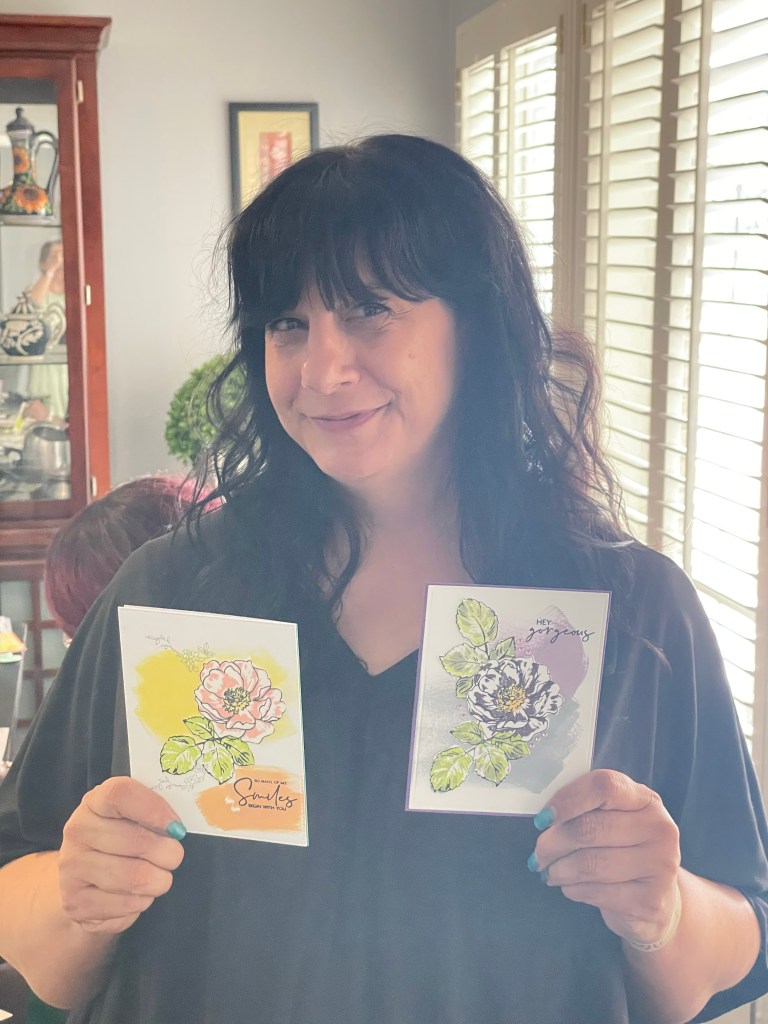
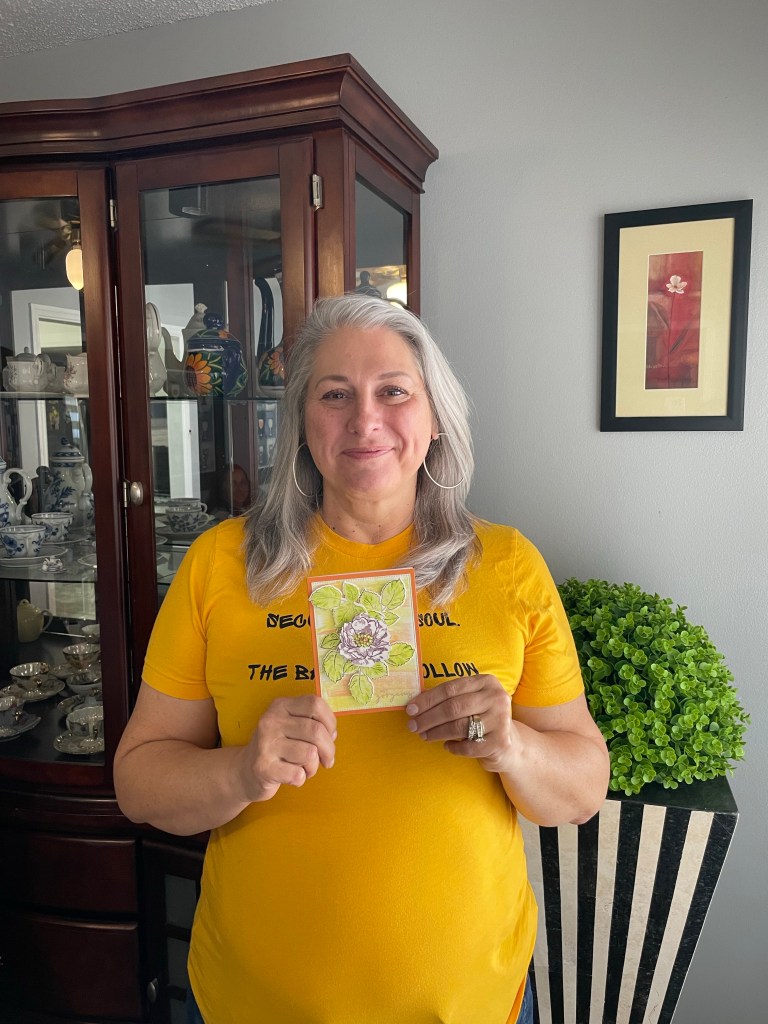

I’m so proud of each one of my students! In the class, I had two self-proclaimed noncreative non-crafters, and they both did very well! One lovely student told me creating something like this was a confidence booster. She never thought she could create something herself that “doesn’t look like a 3-year-old made it.”
As a gift of gratitude, I gifted each student with the stamp bundle they used for the class. They were all very excited and happy to take their kits home. It made me glad to share my love of card making this way, and I hope to see more cards made by each of them.
Thank you, AECP.
This experience has been wonderful. I’ve gained new skills and new friends! I’ve learned about new mediums in art and how to use them. I’ve also learned that while it may be scary to start from scratch and learn something you’d never thought about, it can lead to new and fun adventures!

2 responses to “AECP Final Challenge”
What a lovely post, Irene! I felt that I was RIGHT there when you first started your discovery of stamping. You have certainly proved that with passion, talent and hard work, you can ACHIEVE! It’s hard to believe that you started just over a year ago. Your craftsmanship and talent truly came through. I (and Erum) had a lot of fun attending your class. You were so attentive to your participants that they surely had a great time at your workshop. The photos of their smiles and beautiful cards said it all. I love your class content and ease of introducing the beginners to the layered stamping. I applaud you for your enthusiasm and dedication. Congratulations on reaching a huge milestone! BRAVO!
LikeLike
Thank you so very much, Virginia!!!!!
LikeLike