
I can’t begin to say how much I enjoyed this class. Svitlana taught me to use making in ways I had never thought of before. Her examples were stunning, and it took a lot not to run out and simply copy what she made!
Card 1
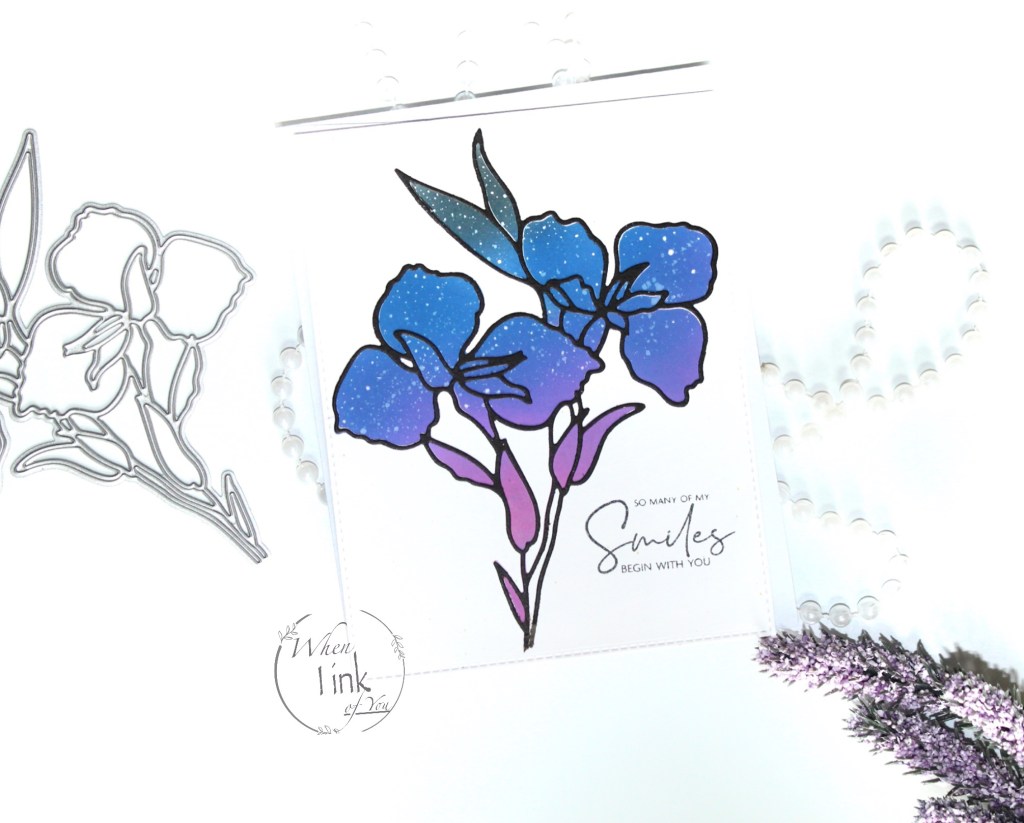
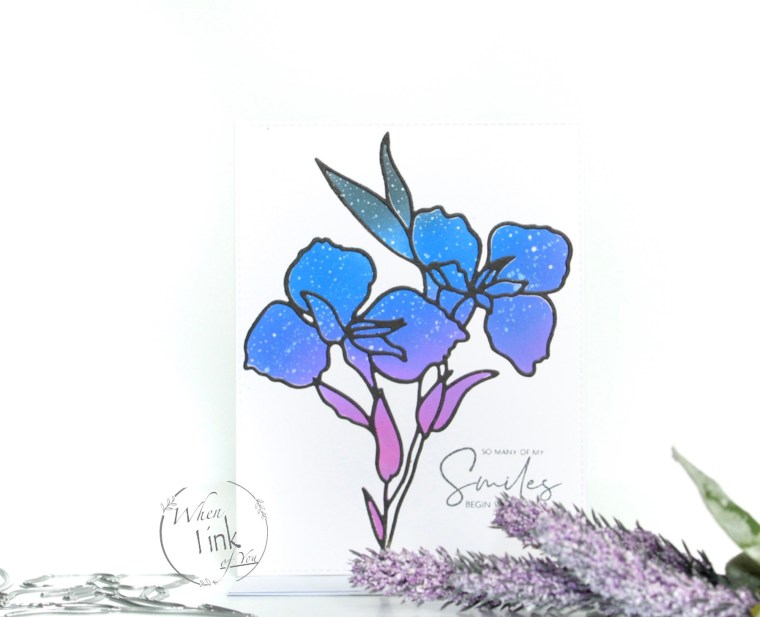
One of my favorite lessons in this course uses masking to give die cuts a more exciting look. For my first project, I used Altenew’s Rose Queen Die Set. I’ve had it in my stash for a while, and I wasn’t sure what I wanted to do with it until now.
I first created a mask with a masking sheet and large die in the rose queen set. I removed the negative pieces carefully and pressed the mask onto white card stock. I also masked the area around the image to ensure no smudges were left. ( I am not a careful crafter LOL) I ran the card stock with the masking sheets through my die cutter so the mask would stay put. Once all pieces were put in their place, I began ink blending. I started with picked raspberries, then wilted violet, prized ribbon, and black soot distress oxide inks. I added white paint spatter with white pigment ink and a paintbrush for a starry night sky look.
I removed the masks from my project.
Next, I placed double-sided tape behind black card stock ( This is an invaluable tip I learned in this class and has made things much easier, LOL) and cut the large image again. I carefully removed the tape backing from the cut, lined it with the inked image, and pressed on. Finally, I cut my project to A2 size with a stitched frame die cut.
I added “So many Smiles begin with you” from Altenew’s Paint-A-Flower Himalayan Poppy stamp set in black dye ink.
Card 2
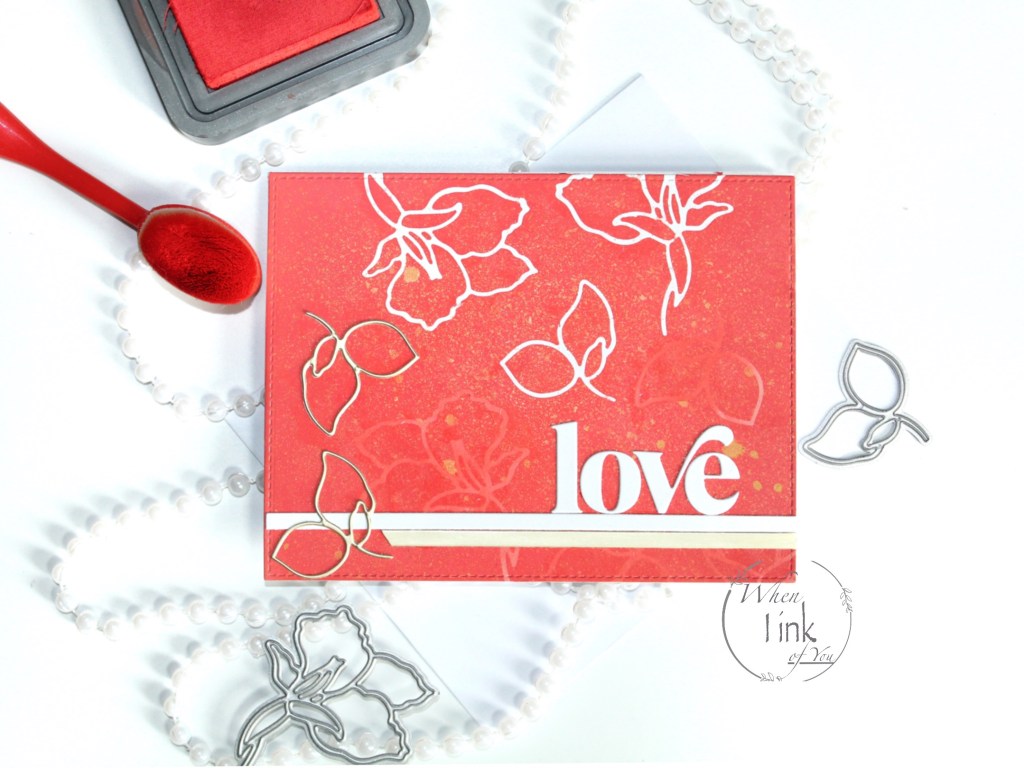
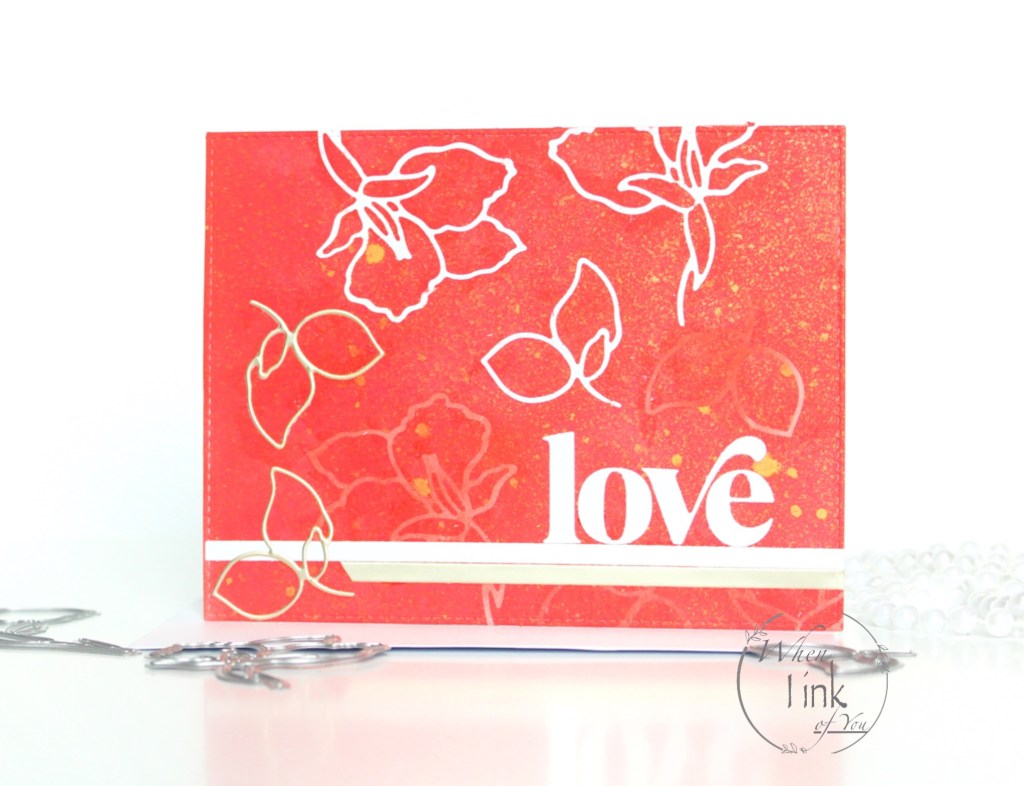
Now that Christmas is over, I wanted to make a card that was Valentine’s Day themed. I started with cutting masking sheets several times using the small florals from the Rose Queen Die Set. I Placed a few over white card stock and began to blend candied apple distress oxide ink. I added a few more masks and blended another layer of ink. I repeated the process one last time, and once the ink was dry, I used Altenew’s Antique Gold ink Spray generously over my project. I removed the masks once the gold ink dried. I used an A2-sized frame to cut out a portion of my sheet.

I added a thin strip of white card stock towards the bottom and one gold strip cut at an angle under it. Next, I added “love” die cuts and a couple of small rose queen cuts in gold for a final touch.

One response to “Masking Unleashed”
Incredibly gorgeous cards!!
LikeLike