

In this class, the fabulous Erum shows advanced techniques to give your cards beautiful details for beautiful results. I created cards with my favorite techniques and tips from this course.
Card 1
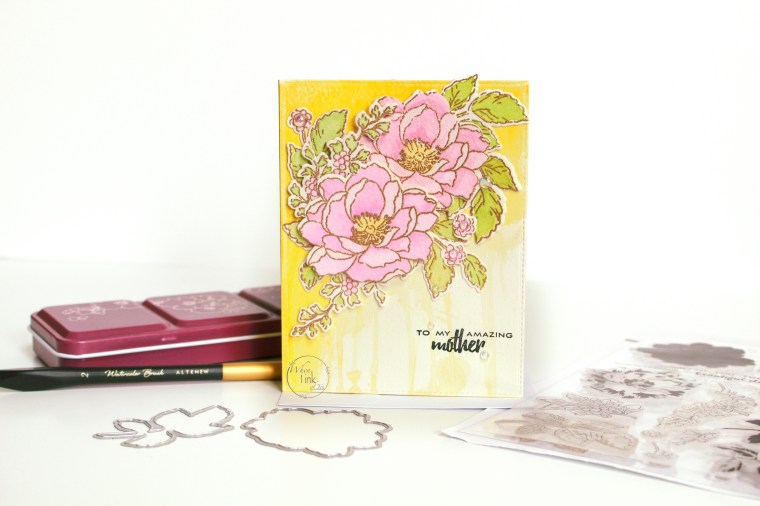
My first card was inspired by one of my favorite shirts. I began by die-cutting Arches Cold-Press 100% cotton watercolor paper with a stitched frame die. Next, I stamped Altenew’s Beautiful Day Stamp Set images in clear embossing ink and heat set them with gold embossing powder.
I added color with a detail brush and Artist Watercolor Pan Set. I began to add color to the floral images first. I added a light layer of water first and added pigment in layers, and I did this with each petal individually. Next, I mixed Green Hills and Tropical Forrest in the same manner for the foliage. Once dry, I cut the images with the coordinating dies.
I used one Arteza watercolor pencil in Tumeric Yellow to create the background. I began by adding the highest pigment concentration at the top of the card panel. Next, I added water to the top with a broad brush and held the panel upright to let the water drip. Finally, I added layers of color until I was happy with the look and set it aside to dry.

I first arranged the leaves onto the panel and adhered them with liquid glue. I then placed the flowers over the leaves, one directly onto the leaves and one with foam tape. Finally, I trimmed a few leaves and tucked them in where I liked them best.
Finally, I added the sentiment from Altenew’s Extra Special Stamp Set in jet black ink.

Card 2

I created my second card with 140lb cold press 100% cotton black watercolor paper and Altenew’s Metallic Watercolor Pan Set. I began by preparing the paper with anti-static powder. Next, I placed my paper and stamp into my Misti stamping tool, and stamped the Statement Flowers image in clear embossing ink, and heat set it in gold powder.
I used the wet to dry method to add metallic pigment to the image. I began with Pink Quartz on the open bloom; after it dried, I added Garnet to the edges of the petals. For the closed flower, I used Garnet on the outer petals and rose quartz on the inner side of the petals. For the leaves, I used Jade and Prasiolite.
I added, “With all my love” from Altenew’s Sentiments Strips 2. First, I stamped the sentiment in clear ink and heat set it in gold embossing powder over white card stock. Next, I used Altenew’s Featured Sentiment Die Set to cut the sentiment strip and added it with foam tape. Finally, I added dew drops embellishments to compliment the florals and sentiment.

Card 3
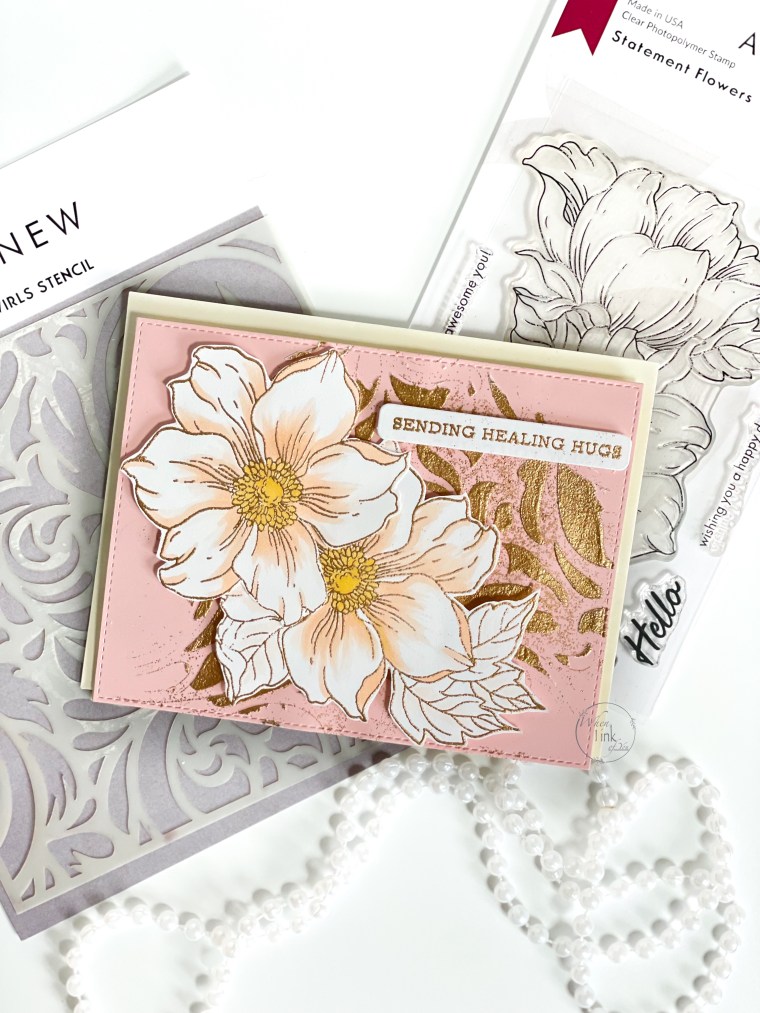
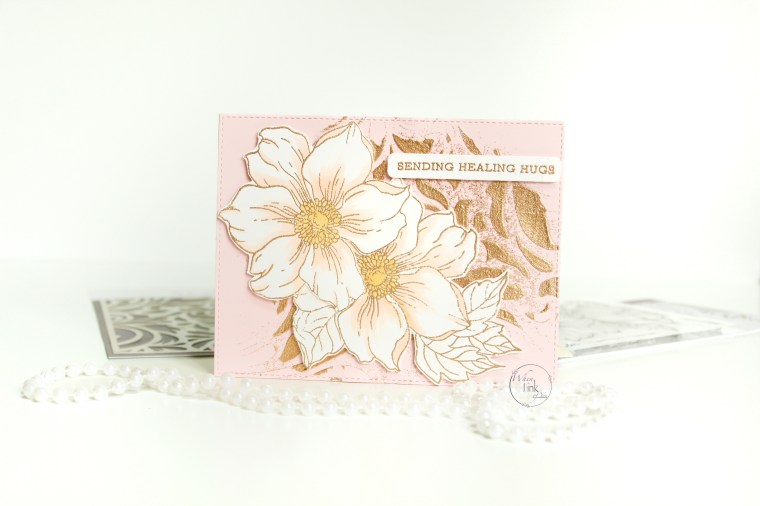
For my final card, I used Altenew’s Elegant Swirls Stencil and embossing paste over pink card stock; before it dried, I added gold embossing powder and heat set it.
Next, I stamped Statement Flowers onto white card stock with clear embossing ink and gold embossing powder. I used Copic markers E00 and E93 to add shading to create white flowers. For the flower centers, I used Y2. I lightly added E00 to the leaves as well.
Next, I fussy cut the large flowers and added them to the panel with foam tape. The sentiment “Sending healing hugs” is from sentiment strips 2. I made this one while I made the sentiment for card 2.

One response to “Creative Coloring with Erum-Advaned Techniques”
Absolutely the most stunning cards ever!!! SO SO SO beautiful!!! LOVE!
LikeLiked by 1 person