

This class taught me different ways to use stencils and how to use what you have on hand to make your own. I don’t have stencils in my stash, but I do have a couple of frame dies. For this lesson I used my favorite one in different colors to achieve very different results.
Card 1

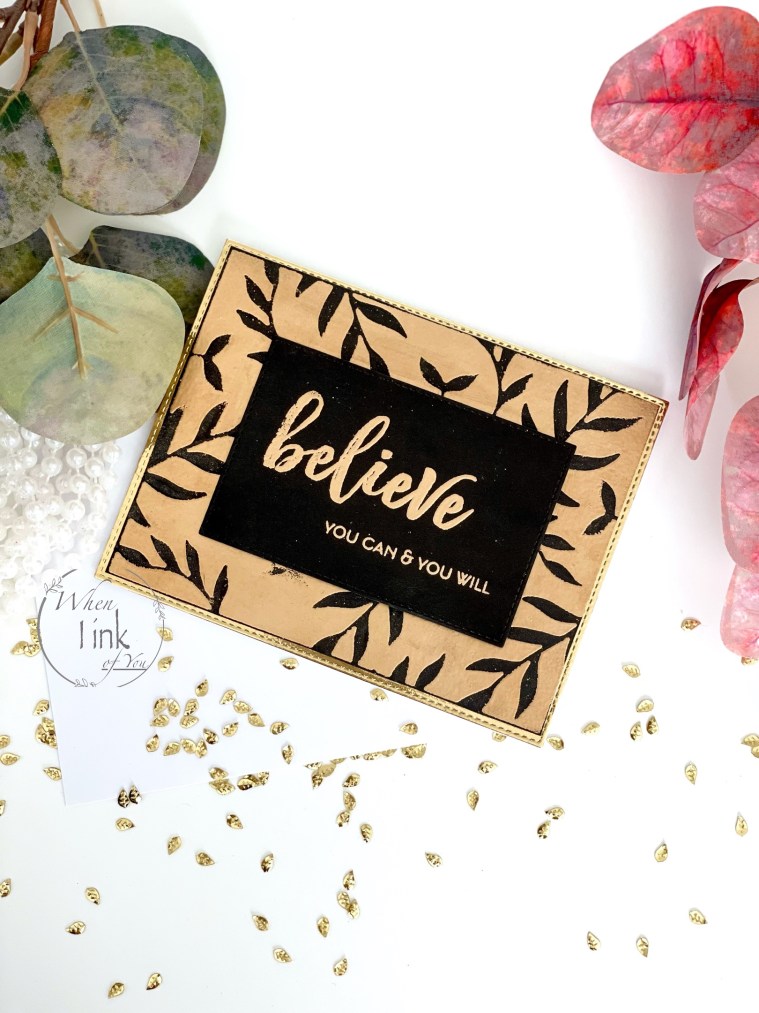
I created my first card with one of my favorite combinations, Black and Gold. I began by die-cutting white card stock with Altenew’s Leaf Frame Cover Die. I did so several times to use on this card and my next project.
I first prepared black card stock with anti-static powder and taped the die cut with washi tape around the edges over my prepared surface. Using an ink dauber, I dabbed clear embossing ink onto the black background. I gently peeled the Washi tape and removed the die-cut. I poured gold embossing powder onto the black card stock and shook off the excess. I set the powder with a heat gun.
For the sentiment, I chose “Believe you can & you will” found in Altenew’s Watercolor Roses Stamp Set. I cut and prepared a small black card stock piece for my sentiment. I used clear embossing ink and gold embossing powder once again. With a small embossing tool, I added small dabs of embossing ink and embossing powder for additional random spots of gold.
I adhered the sentiment to double-sided black foam and secured it to the center of my embossed piece. I placed shiny gold card stock behind my project and adhered it to a blank card base.
Materials
- Altenew Leaf Frame Cover Die
- WaterColor Roses Stamp Set
- Black Card Stock
- Gold Cardstock
- Clear Embossing Ink
- Gold Embossing Powder
- Double Sided Black Foam
Card 2

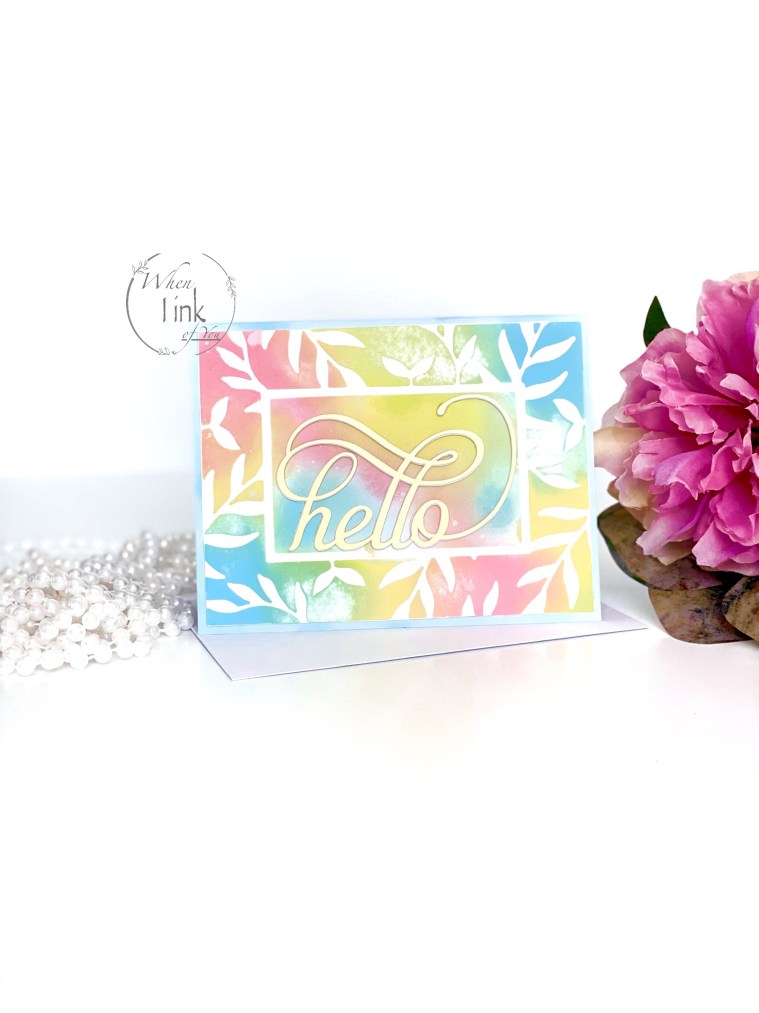
Spring and Summer are my favorite time of year and were the inspiration behind this card.
I began by taping my die-cut frame over the white card stock. I blended oxide inks in, worn lipstick, twisted citron, salty ocean, and squeezed lemon over the die cut and negative space. I removed the tape and die-cut once I blended the colors to my liking. I added a little Ranger perfect pearls dust over the colorful surface and sprayed a little water for added interest.
I blended oxide ink in salty ocean onto the blank card base. I adhered to my project to the colored card. Finally, I added a previously cut die cut “Hello” to the center with liquid glue.
I love learning new ways to use the product on hand, and I loved learning about it in this course.
Materials
- Altenew Leaf Frame Cover Die
- Hello Sentiment (Altenew makes similar one found here)
- Distress Oxide inks (listed above)
- Ranger Perfect Pearls in White
- Double Sided Tape
- Liquid Glue


