This class is all about one of my favorite techniques, Ink Blending. I enjoyed learning of different ways of using this technique I had not thought of before. If I don’t have the right colored card stock, I can MAKE one. So simple. So beautiful. Here are the cards I was inspired to create with this beautiful technique.
Card 1

I began by stamping my floral stamp from Altenew’s Extra Special stamp set in clear embossing ink on white card stock. I used a white pearl embossing powder and heat set it. Next, I began to build my rainbow in the usual order. Using a blending brush, I started with distress oxide inks in Candied Apple, Spiced Marmalade, Squeezed Lemon, Twisted Citron, Peacock feathers, Tumbled Glass, and Prize Ribbon. I created each layer using a circular motion. I lightly went over previous layers to blend each color with the next. Once I was satisfied with the colors, I spritz water on my piece for extra visual interest and let it dry.
I love rainbows. I mean, who doesn’t? Rainbows remind me of my childhood and my sister was a big part of it. For me, she is the best. Thinking of her makes me happy just like thinking of rainbows. I chose the “to the best sister” sentiment included in the Extra Special Stamp Set, and stamped it in black dye ink.
I attached my completed piece at a fun angle over sky blue A2-sized card stock with double-sided tape.

Materials
- Altenew Extra Special Stamp Set
- Distress Oxide inks (colors listed above)
- Blending Brushes
- Stamping Mat (Keeps my table safe from my inky messes)
- Pearl Embossing Powder
- Heat Gun
- White Card Stock
- Sky Blue Card stock
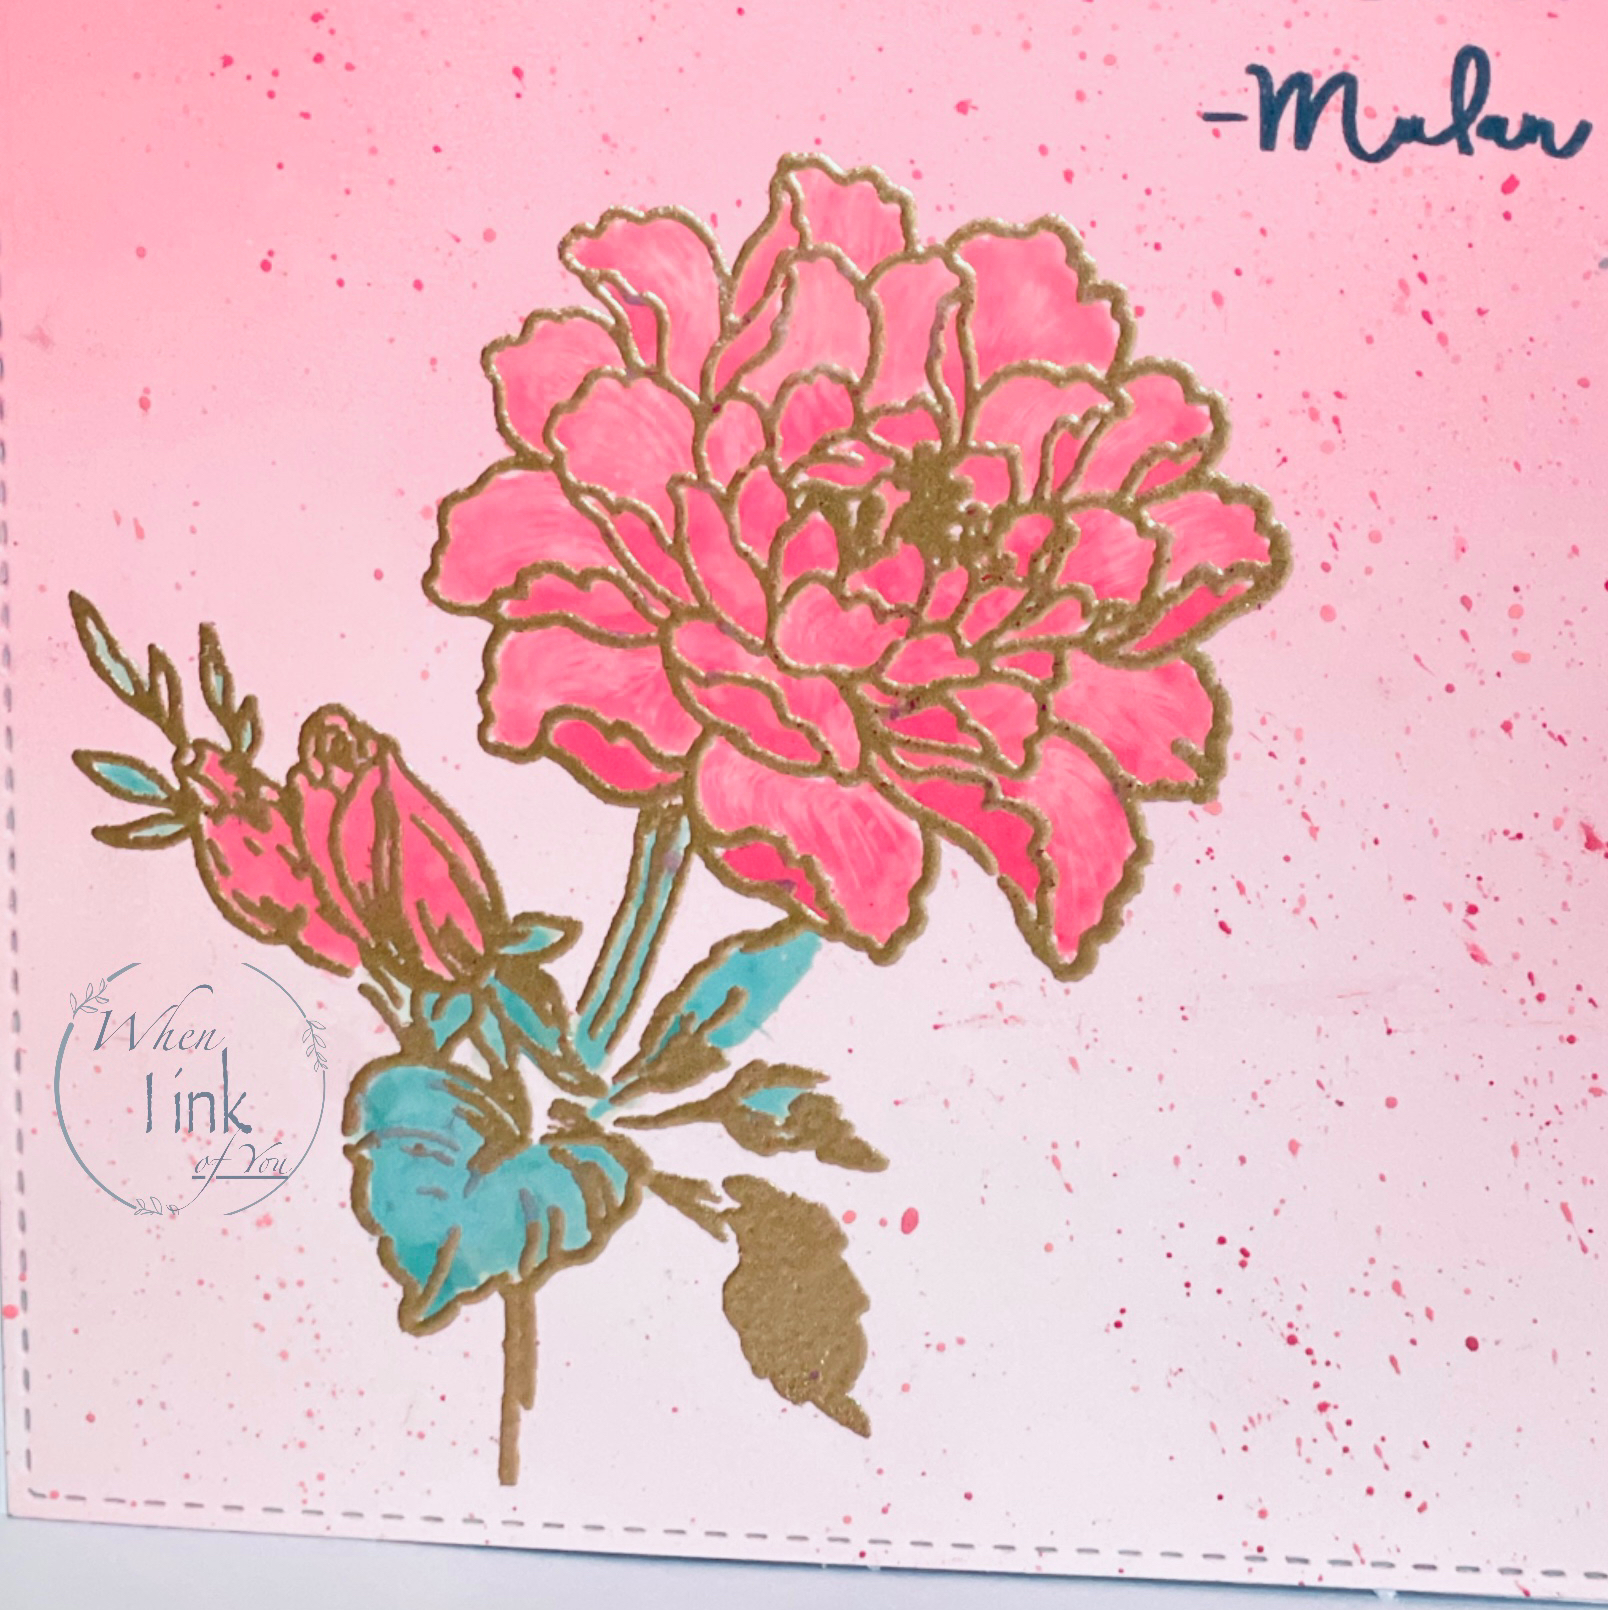
Card 2

This card began as blending practice on a plain white sheet of medium-weight cards stock.
I used distress oxide ink in spun sugar and worked my way from the bottom to top using a blending brush. The center layer was made with distress oxide ink in worn lipstick followed by festive berries oxide ink for the top. I went over the layers several times adding more ink until I achieved a look I was happy with. I then die-cut it to A2-size.
I stamped the floral outline from Altenew’s Remember This layering stamp set in clear embossing ink at the lower-left corner. I used gold embossing powder and set it with my heat gun. I repeated the process to add foliage and additional floral elements. To add ink splatter, I pressed the festive berries color ink pad on my stamping mat and dipped my watercolor brush in water and ink. I freely splashed my card with the mixture.
I used the same mixture of water and ink to color the florals. I used a white ink pad to lighten the areas I thought would reflect light. I used the same method with green ink to color in the leaves of my project.
The sentiment I chose is from Altenew’s Strength Blooms Stamp Set.

Materials
- Altenew Remember This Stamp Set
- Altenew Strength Blooms Stamp Set
- Distress Oxide inks in Spun Sugar, Worn Lipstick, Festive Berries, and Picket Fence
- Stamping Mat
- Clear Embossing Ink
- Gold Embossing Powder
- Heat Gun
- Watercolor Brush
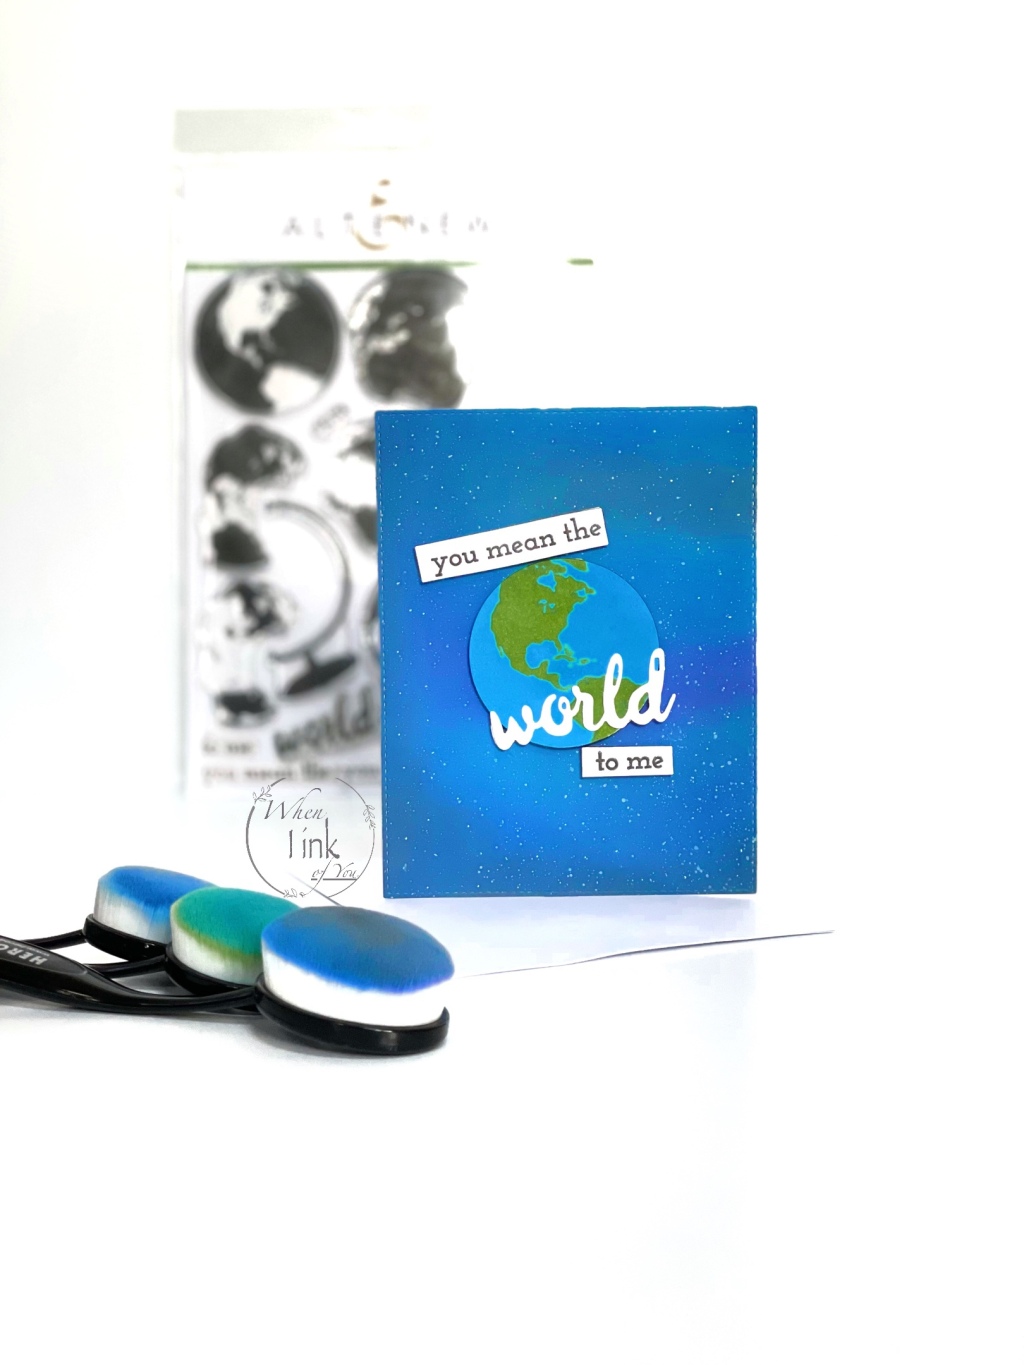
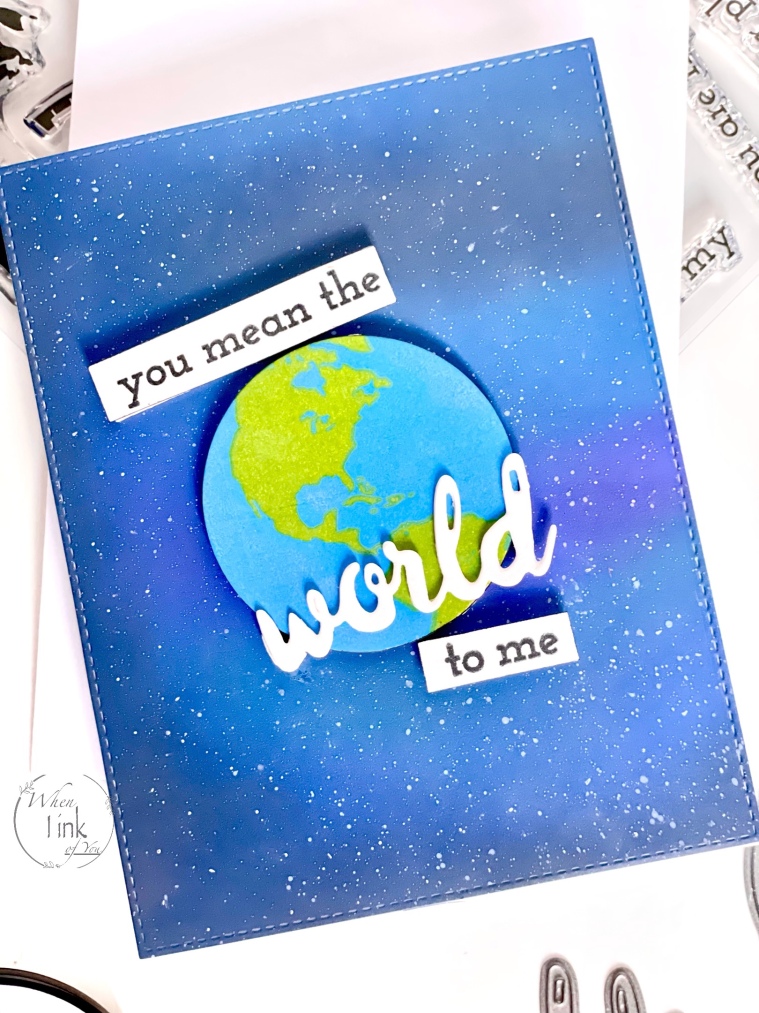
Card 3

The final project for this class is my absolute favorite. I knew what I wanted to do when I saw the Big World stamp set. I grabbed Distressed Oxide inks in Prize Ribbon, Wilted Violet, Peacock Feathers, and Black Soot. I began with Prize Ribbon by blending it throughout white card stock. I colored smaller areas with Wilted Violet and Peacock Feathers. For the edges and corners, I used black soot. I picked up more ink as needed, then blended the Prize ribbon color over the entire area. I die cut a portion of my blended card stock using an A2-sided frame.
For the stars in the background, I splattered white pigment ink with a watercolor brush.
On a separate sheet of card stock, I stamped the water layer of the stamp set using distress oxide in Salty Ocean. The land layer stamp followed in oxide ink in Mowed Lawn. I die cut the stamped world and placed it at the center of my project with foam tape. Next, I stamped. “You Mean the” and “to me” using black die ink and cut them out with a pair of scissors. I placed them both on my project using foam tape. Lastly, I die cut the word “world” and glued it on with liquid adhesive. I secured my project to a blank card with double-sided tape.

Materials
- Altenew Big World Stamp and Die cut Bundle
- Distress Oxide Ink (Colors listed above)
- White Pigment Ink
- Stamping Mat
- Watercolor Brush
- White Foam Tape
- Double-Sided Tape
- Liquid Adhesive

One response to “Easy Ink Blending Techniques”
Flawless ink blending! Fantabulous cards!! Thank you for submitting your wonderful work to the AECP assignment gallery.
LikeLiked by 1 person