
More layering in this course! This class furthered my learning in layering stamp techniques with beautiful stamp sets.
Cards 1&2
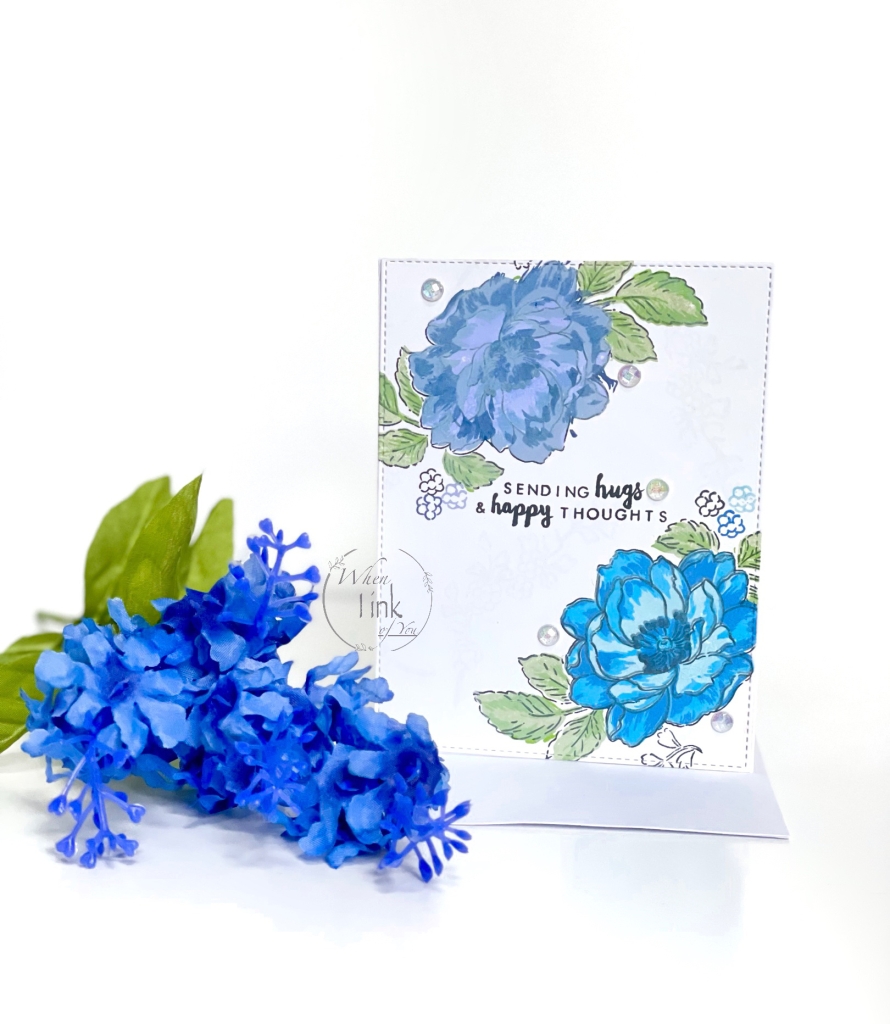
To begin, I stamped the larger flower cluster stamp from Altenew’s Beautiful Day stamp set on white letter-sized card stock. I used clear embossing ink thought out the entire sheet to create a watermark background. Next, I stamped the peony outline in black dye ink near the lower right corner of my sheet. I layered the rest of the flower with distressed oxide inks in tumbled glass, salty ocean, and prize ribbon. I stamped the outline on a masking sheet and cut it out. I placed the masking sheet over my completed flower and stamped the foliage outline on each side of the flower. I used oxide inks in bundled sage, and mowed lawn for the rest of the foliage.
I repeated the entire process diagonally above my first flower using distressed oxide inks in shaded lilac, stormy sky, and chipped sapphire, to end with a different shade of blue. I added some detail by using the smaller flower stamps alongside the larger florals. I die cut this to A2 size and I used the “sending hugs and happy thoughts” sentiment included in this set. I used sticker gems to add a bit of embellishment.

Materials
- Altenew Beautiful Day stamp set
- Black dye ink
- Distressed oxide ink (listed above)
- Gem stickers
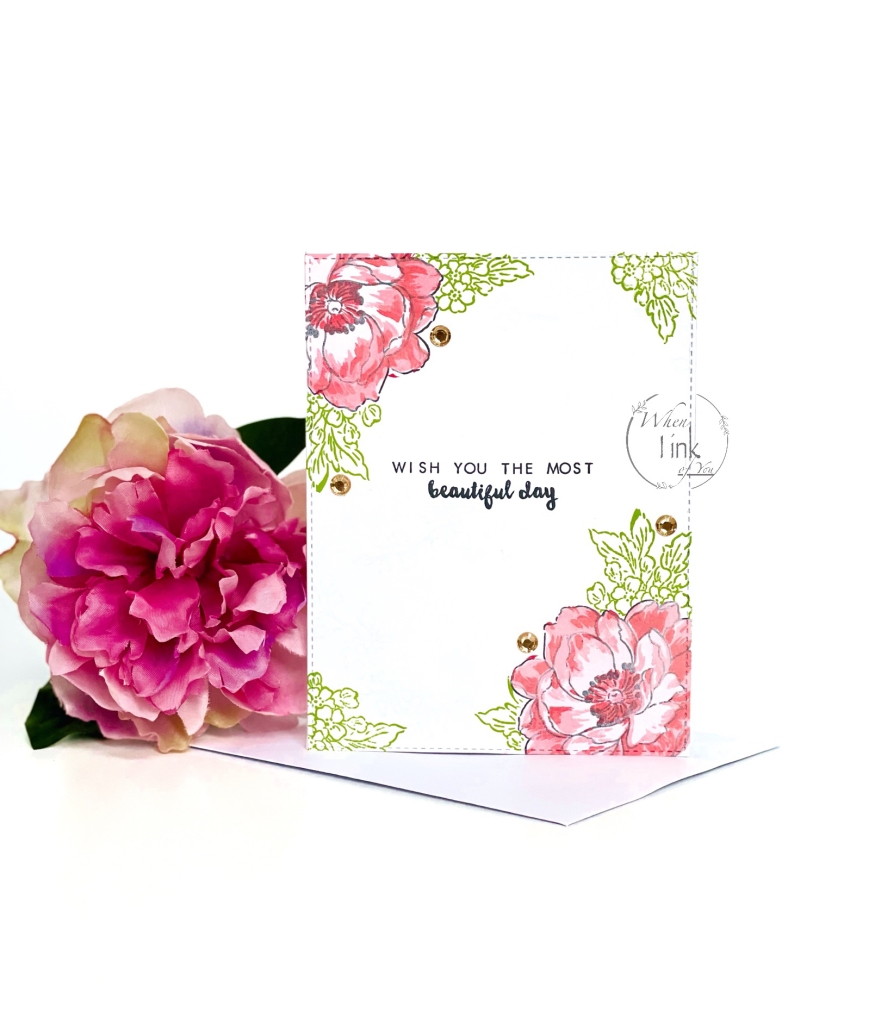
Using the remainder of my watermarked card stock, I made a second card using the same methods. I chose distressed oxide inks in spun sugar, worn lipstick, and festive berries for the florals. I masked the floral once again, and stamped the medium-sized flower cluster in mowed lawn alongside the flowers and in the corners. I stamped “wish you the most beautiful day” sentiment also included in this set. I used gold colored gem sticker to embellish.
Materials
- Altenew Beautiful Day stamp set
- Distressed oxide ink (listed above)
- Gold gem stickers
I attached the pieces to A2 sized cards using strong adhesive tape.
Card 3
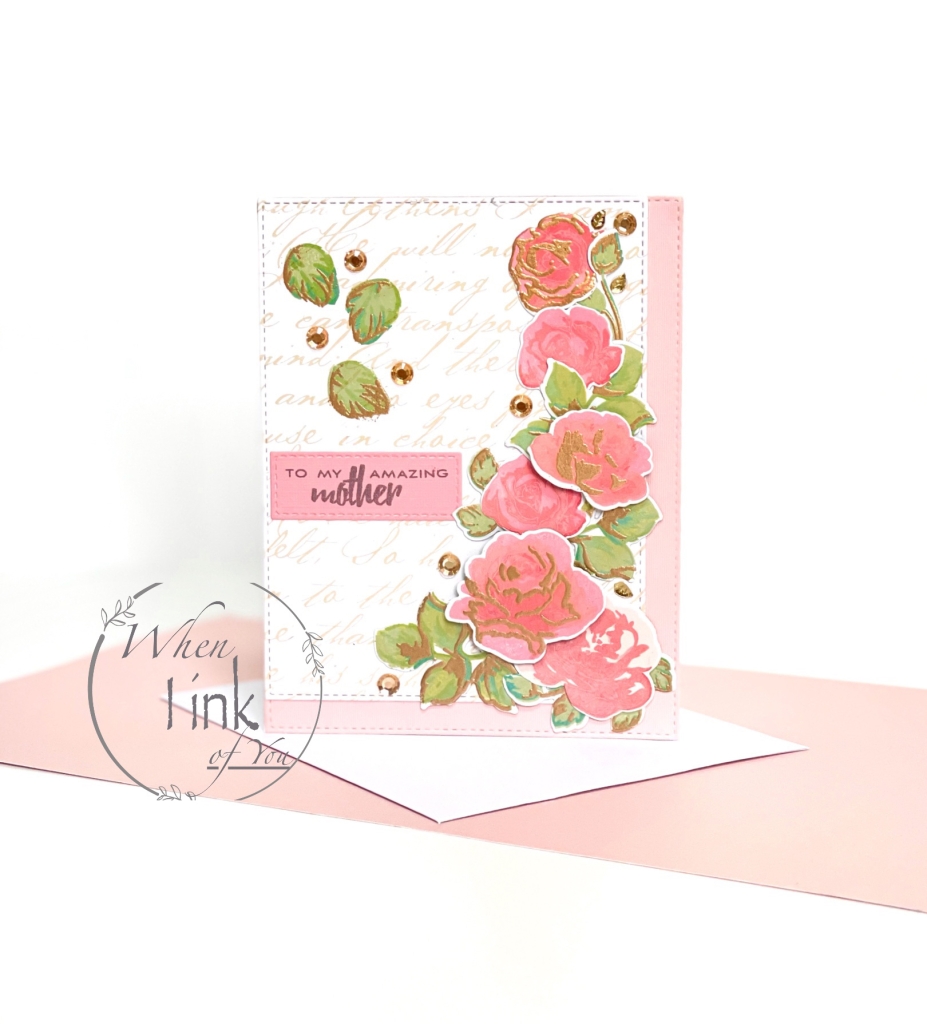
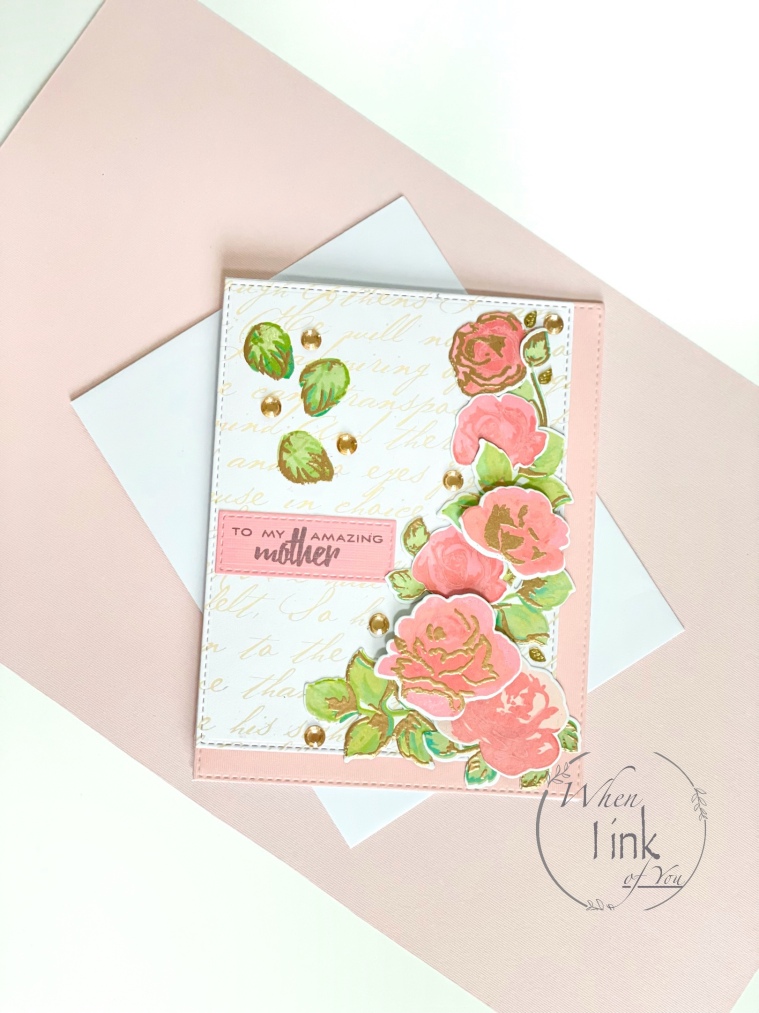
I created this card using Altenew’s Vintage Roses Stamp and Die bundle. I love roses in any color but especially in pinks. I began with specialty card stock I had previously cut. Roses are quite romantic and I thought this paper would compliment my roses perfectly.
I used distressed oxide inks in my favorite combination from lightest to darkest. Colors used in order are, spun sugar, worn lipstick, festive berries, and candied apple. I stamped multiple flowers on white card stock and used the coordinating dies to cut them out. For the foliage, I used distressed oxide inks in bundled sage, and mowed lawn and cut them out using the coordinating dies. I also stamped three individual leaves directly onto my specialty paper.
I wanted to add a bit of gold, for this I used a clear embossing ink pen and went over some of the areas of the flowers and foliage. I used gold embossing powder and my heat gun to set.
I played around a bit with the placement of my flowers before securing them. I liked the look of off-set specialty paper, so I secured it to the top corner. I then arranged the flowers to look like a vine of roses. I glued some flat onto the background and used foam squares on the others for a bit of dimension.
For the sentiment I stamped “To my amazing mother” from Altenew’s Extra Special Stamp Set over a smaller and slightly darker card stock stip. I used specialty gold leaf glitter and gold sticker gems to add sparkle.
Layering stamps have become a favorite tool of mine. They give a gorgeous result and can be used in so many different ways.
Materials
- Altenew’s Vintage Roses Stamp and Die Bundle
- Altenew’s Extra Special Stamp Set
- Distressed Oxide inks (colors listed above)
- Gold Embossing Ink
- Clear Embossing Ink Pen
- Specialty Gold Leaf Glitter
- Gold Colored Sticker Gems
If you are new to Altenew, you can use my referral link for $5 off your purchase. I’ll also get a point boost, it’s a win win!

6 responses to “All about layering 2”
Love your cards. They are beautiful
LikeLiked by 1 person
Thank you so very very much!!!! 💕
LikeLiked by 1 person
Hi Irene! Love your beautiful cards! My name is Lori and I am also in Group 30! Looking forward to this journey!
LikeLike
So nice to meet you!!! Thank you for your kind words!! Let me know where to give you a follow so I can cheer you on 💕
LikeLike
OMG OMG OMG Your cards are SO prettttyyyyy!!! Love them to bits!!
Thankyouforsubmittingyourgorgeous work to the AECP assignment gallery.
LikeLiked by 1 person
Seriously!!! Really really made my day!!!!!
LikeLike